
Seedance 2.0 AI Video Generator: Choose a Mode and Run a First Test
Choose the right Seedance 2.0 generator mode, set a small first render, and review one clip before adding creative complexity.
To use a Seedance 2.0 AI video generator well, first choose the mode that matches what must stay fixed: text-to-video for an invented scene, image-to-video for a specific starting image, or reference-to-video for separately assigned assets. Then make one short, controlled render and review it before adding more movement, references, or style instructions. The first render is a diagnostic. Its job is to reveal whether the basic shot works—not to prove the model can finish an entire production.
Last updated: September 13, 2026 · about 9 min read
The Seedance 2.0 model family is available in this studio’s live selector. The exact controls can vary by selected model and may change, so read the visible selector before you generate. On the current Seedance 2.0 entry, the studio presents 480p, 720p, and 1080p output choices and a 4–15 second range; the fast variant presents 480p and 720p. Those are operating limits, not a promise that every creative request will work equally well.
ByteDance’s Seedance 2.0 launch note describes text, image, audio, and video inputs. This independent studio has its own interface and pricing, so use its visible controls and pricing page for a current purchase decision.
Pick the mode by the thing you cannot afford to lose
Mode names are only useful when they help you make a decision. Start with the asset or constraint that matters most.
| If the shot needs… | Start with | What the first render should answer |
|---|---|---|
| A new scene with no fixed visual asset | Text-to-video | Can the subject, action, and camera direction read clearly? |
| A specific product, person, place, or composition | Image-to-video | Does the source remain recognizable while motion begins? |
| Separate images, video, or audio that serve different jobs | Reference-to-video | Are the source roles clear enough to avoid a confused result? |
Text-to-video: use it when invention is acceptable
Choose text-to-video when you can let the model decide the exact look of the scene. It is a sensible first route for an atmosphere shot, a conceptual location, or a visual sketch where no particular object has to match an approved reference.
Do not write a whole treatment in the first pass. A clear starter prompt has five parts:
Subject + one action + one camera behavior + protected details + ending
For example:
A ceramic cup on a quiet café table at dawn. Steam rises slowly while the camera makes one gentle push-in. Keep the cup shape, table edge, and soft window light stable. End on a centered, still composition. No readable text, extra objects, or fast camera move.
This modest request gives you something to inspect. If the camera moves the wrong way, the cup changes shape, or the ending is unusable, you know what to adjust.
Image-to-video: use it when the source carries the important detail
Choose image-to-video when the first frame contains a product, person, composition, or style that the final clip needs to preserve. Begin with a permitted, sharp source whose main subject has clear boundaries. A heavily compressed image, tiny product, hidden face, or crowded scene asks the render to invent too much before any motion begins.
For a first image-to-video test, state what is protected rather than saying only “keep it consistent.”
Use the uploaded bottle image as the opening frame. A narrow band of side light moves across the bottle while the camera makes one slow push-in. Keep the silhouette, cap, material, label area, table edge, and contact shadow stable. End on a centered hold. No rotation, new object, or invented text.
If a label or legal claim must be exact, keep it in a conventional edit. Treat generated frames as visual drafts, not evidence about a real product or event.
Reference-to-video: give each asset one job
Use reference-to-video only when multiple permitted inputs genuinely add information. For example, one image might define a product, another might establish a color direction, and a short video reference might suggest movement. State those roles in the prompt rather than expecting the system to infer them.
The studio applies model-specific limits to the current selection. Seedance 2.0 supports up to nine reference images, three reference videos, and three reference audio files, but “up to” is not a target. Begin with the fewest inputs needed to test one decision. Extra assets can conflict, and a first test should make the source of a problem legible.
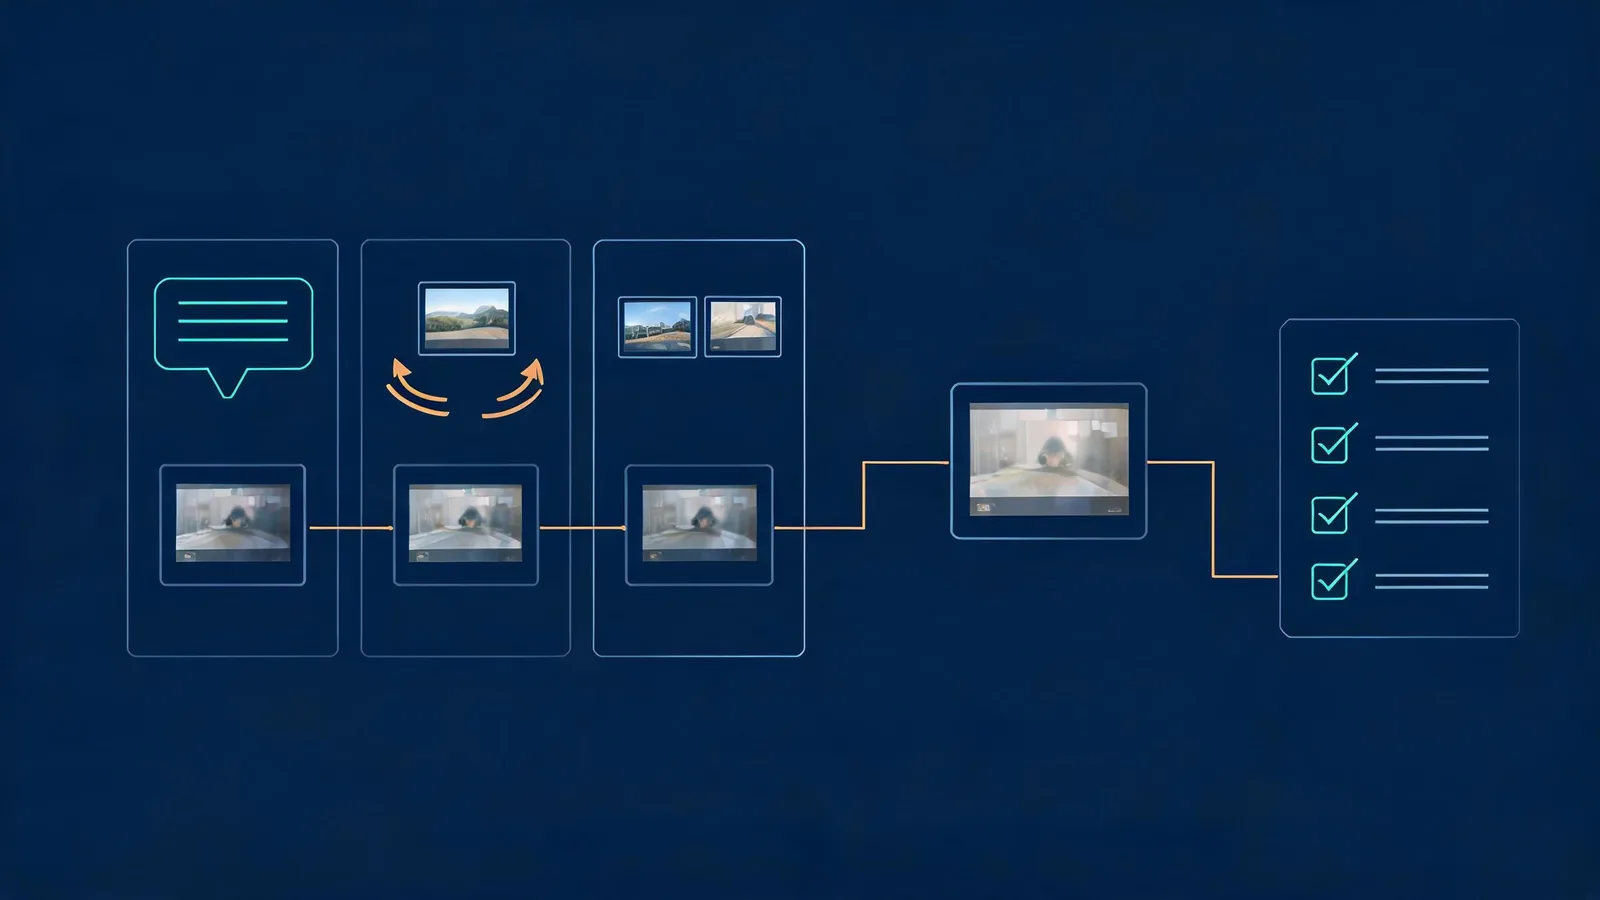
Use one input strategy at a time for the first render so the next decision is visible rather than guessed.
Set a first test that can teach you something
Before opening the AI video generator, write a one-sentence acceptance rule. “Looks cinematic” is hard to evaluate. “The bottle stays upright, the camera moves forward, and the last frame has room for a title” is reviewable.
Use this checklist:
- Confirm that you have permission to use every uploaded image, video, audio clip, and likeness.
- Select the current Seedance 2.0 model and confirm its displayed resolution and duration options.
- Use the shortest available duration that can show the action start and settle.
- Ask for one subject action and one camera behavior.
- Name a small set of details that must remain stable.
- Specify an ending hold or final composition.
- Decide in advance what would make the render acceptable, rejected, or worth revising.
Resolution is a trade-off. A smaller setting can be enough to check movement and stability before a later high-resolution attempt. Use the exact current selector: options can change by model and service.
Review the entire clip, not just the nicest frame
Watch the render from start to finish at normal speed. Then review the frame where the subject moves most, the beginning, and the final second. Look for:
- the subject’s identity, geometry, or product details;
- the requested camera direction and speed;
- hands, contact points, reflections, and straight background lines;
- whether new people, props, labels, or claims appeared;
- whether the ending can cut cleanly into an edit;
- whether the source use, result, and planned publication are appropriate.
If the shot fails, change one likely cause for the next test: reduce the camera move, simplify the action, improve the source, or shorten the protected-details list. The generation troubleshooting guide separates source, prompt, and transient rendering issues. The warping guide is useful when a product, face, or background breaks during motion.
Keep a small record even for a test
Save the model name, mode, source filename or asset ID, visible settings, prompt version, date, and decision. That record matters when you want to repeat a usable result or explain why a rejected one changed. The companion first-render record guide provides a practical handoff format for a completed clip.
Do not use generated footage to imply that a person did something, a location looked a certain way, or a product has a capability without independent support. For a policy and rights starting point, consult the U.S. Copyright Office’s AI materials; they do not replace the terms, permissions, or legal advice applicable to a particular project.
Frequently asked questions
Which Seedance 2.0 mode should I use first?
Use text-to-video when the scene can be invented freely, image-to-video when a supplied image contains a detail that must remain recognizable, and reference-to-video when separate permitted assets need distinct roles. Start with the smallest test that can answer your question.
What should I include in a first Seedance 2.0 prompt?
Name one subject, one visible action, one camera behavior, the details that must remain stable, and a final frame or stopping condition. Keep the first prompt short enough that a failed result gives you a clear next change.
Should I choose the highest available resolution for a first test?
Not necessarily. Choose the current setting that is sufficient to judge motion, composition, and stability, then use a higher supported setting only after the shot plan holds together. The live selector is the source of truth for available options.
How should I review a generated clip?
Watch it once at normal speed, then inspect the opening, the most difficult movement, and the ending. Check identity or product shape, camera direction, background continuity, exact text, rights, and whether the final frame is usable.
Related guides
- Open the Seedance AI video generator →
- Seedance 2.5 image-to-video guide
- Seedance 2.0 prompts: a controlled method
- Seedance video generator: plan a one-clip test
Start with the smallest useful proof
Choose a mode based on the thing that must stay stable, make one modest render, and review the whole clip. Once that foundation works, add the next creative decision deliberately.