
Seedance 2.0 Prompts: A Controlled 5-Step Method
Write clearer Seedance 2.0 prompts with a five-step method for choosing a subject, action, camera move, protected details, and final frame.
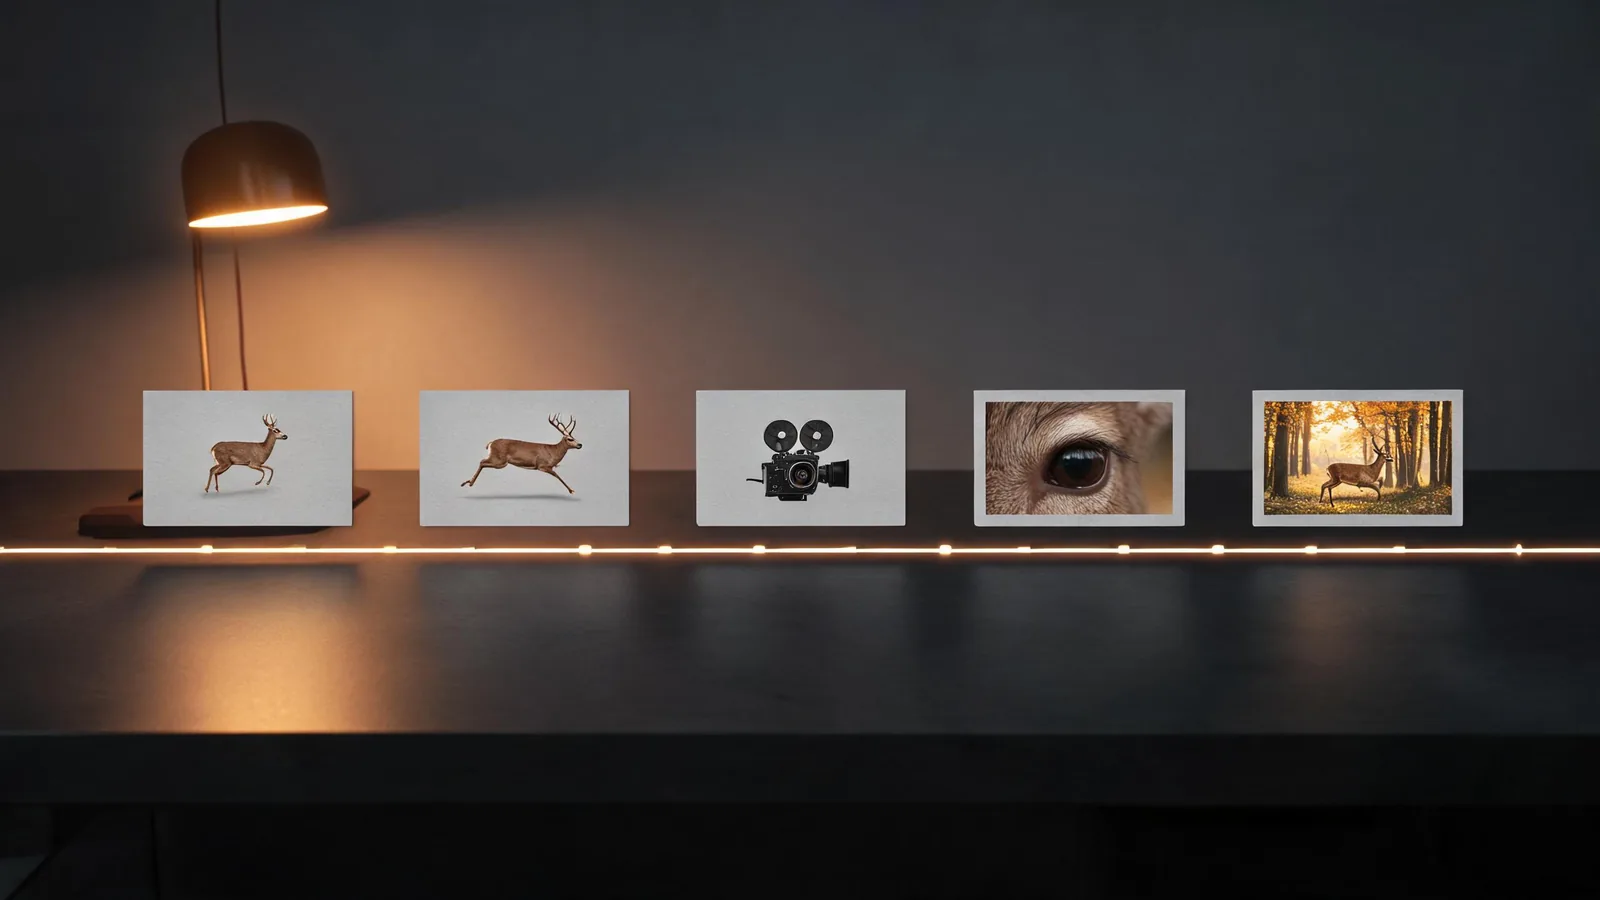
The simplest way to write Seedance 2.0 prompts is to decide five things in order: the subject and setting, one visible action, one camera behavior, the details that must stay stable, and the final frame. Write those decisions before adding style language. Then test the smallest version of the shot and change only one variable on the next render. This method helps you learn from a clip instead of treating a long prompt as a lottery ticket.
Updated September 2, 2026 · about 8 min read
Why prompt structure matters
The public search results for “Seedance 2.0 prompts” are mostly large prompt libraries and copy-paste collections. They can be useful for inspiration, but a reusable prompt should also tell you what a result is meant to prove. Is the test about a product silhouette, a camera move, a small action, or an edit-ready final frame? If everything changes together, there is no clear answer.
ByteDance’s Seedance 2.0 launch announcement describes a multimodal audio-video model that can take text, image, audio, and video inputs. That does not make every available host or setting the same. Check the live screen where you generate for the modes and controls actually offered to you. The workflow below is deliberately portable: it is a way to make a visual brief testable, not a promise of a particular setting or output.
The five decisions to make before writing prose
| Decision | A clear first answer | Why it matters |
|---|---|---|
| Subject and setting | A plain ceramic cup on a table in window light | Gives the shot one readable anchor |
| Visible action | Steam rises slowly | Says what changes over time |
| Camera behavior | One gentle push-in | Avoids competing movement |
| Protected details | Keep the cup shape, handle, table edge, and light direction stable | Names the details worth inspecting |
| Final frame | End on a centered, still hold | Gives the editor a usable handoff |
Write these as notes first. Only then turn them into a prompt. If two notes conflict—for example, “locked camera” and “fast orbit,” or “preserve the product” and “transform it into something else”—decide which result you actually need and delete the other instruction.
1. Start with a subject that can be reviewed
Your opening subject should be easy to recognize at the size a viewer will see. A simple object, a quiet room, or an authorized portrait makes a more useful first test than a crowded scene with tiny signage, overlapping bodies, and several props.
For text-led work, name the subject and environment in ordinary language. For image-led work, let the permitted source establish most of the existing appearance. Do not ask a one-view product photo to reveal hidden sides while also demanding an exact label, a fast turn, and a new environment. That is a high-risk request, not a good baseline.
If a person, product, or location must remain recognizable, use only materials you are entitled to use and make the scope of the motion clear. The reference-image rights and quality checklist is the appropriate first stop before you upload a client asset or a recognizable person.
2. Ask for one action that a reviewer can point to
Good first actions are concrete: a curtain shifts, a cup emits steam, a person with permission makes a small head turn, or light moves across an unbranded surface. “Make it dynamic” is not an action; it leaves the model and reviewer to invent different answers.
Keep the camera quieter than the action on a first test. If the subject is moving, use a locked frame or a gentle drift. If the camera move is the test, keep the subject almost still. This separation makes a failed result more informative.
A plain ceramic cup sits on a clean wooden table in soft morning window light. Steam rises slowly from the cup. Keep the cup silhouette, handle, table edge, and light direction stable. One gentle push-in, one continuous shot. End on a centered still frame. No readable text, logos, extra objects, or scene change.
This is not a magic formula. It is a small request with visible acceptance checks. If the cup changes shape, reduce motion or improve the source. If the camera jumps, test a locked camera while keeping the rest of the brief unchanged.
3. Choose one camera behavior
Camera words carry different visual demands. A slow push-in, a short pan, a lateral track, and an orbit are not interchangeable decorations. Choose the move that best supports the question you are testing.
| If you need to test | Conservative first camera choice | What to inspect |
|---|---|---|
| Product or object stability | Locked frame or slow push-in | Silhouette, edges, reflections, ending hold |
| A quiet environment | Locked frame or short forward move | Straight lines, depth, continuity |
| A permitted portrait | Gentle hold or small drift | Identity, clothing, background, expression |
| A moving subject | Mostly locked frame | Body position and contact points |
The camera movement prompt guide explains the vocabulary in more detail. Use it to select a move, not to put every possible move into one request.
4. Protect only the details that matter
“Keep everything the same” is vague. A short protected list is stronger: a face and hairline, a bottle silhouette and cap, or a window frame and horizon line. Name details a viewer could reasonably notice if they changed.
Do not turn protection into a giant inventory. If the request lists every color, object, texture, and background feature, it can obscure the primary action. For a product, preserve the important shape and do not rely on a generated frame for exact labels, regulatory text, or product claims. For a portrait, preserve identity only when you have permission for the requested animation and distribution.
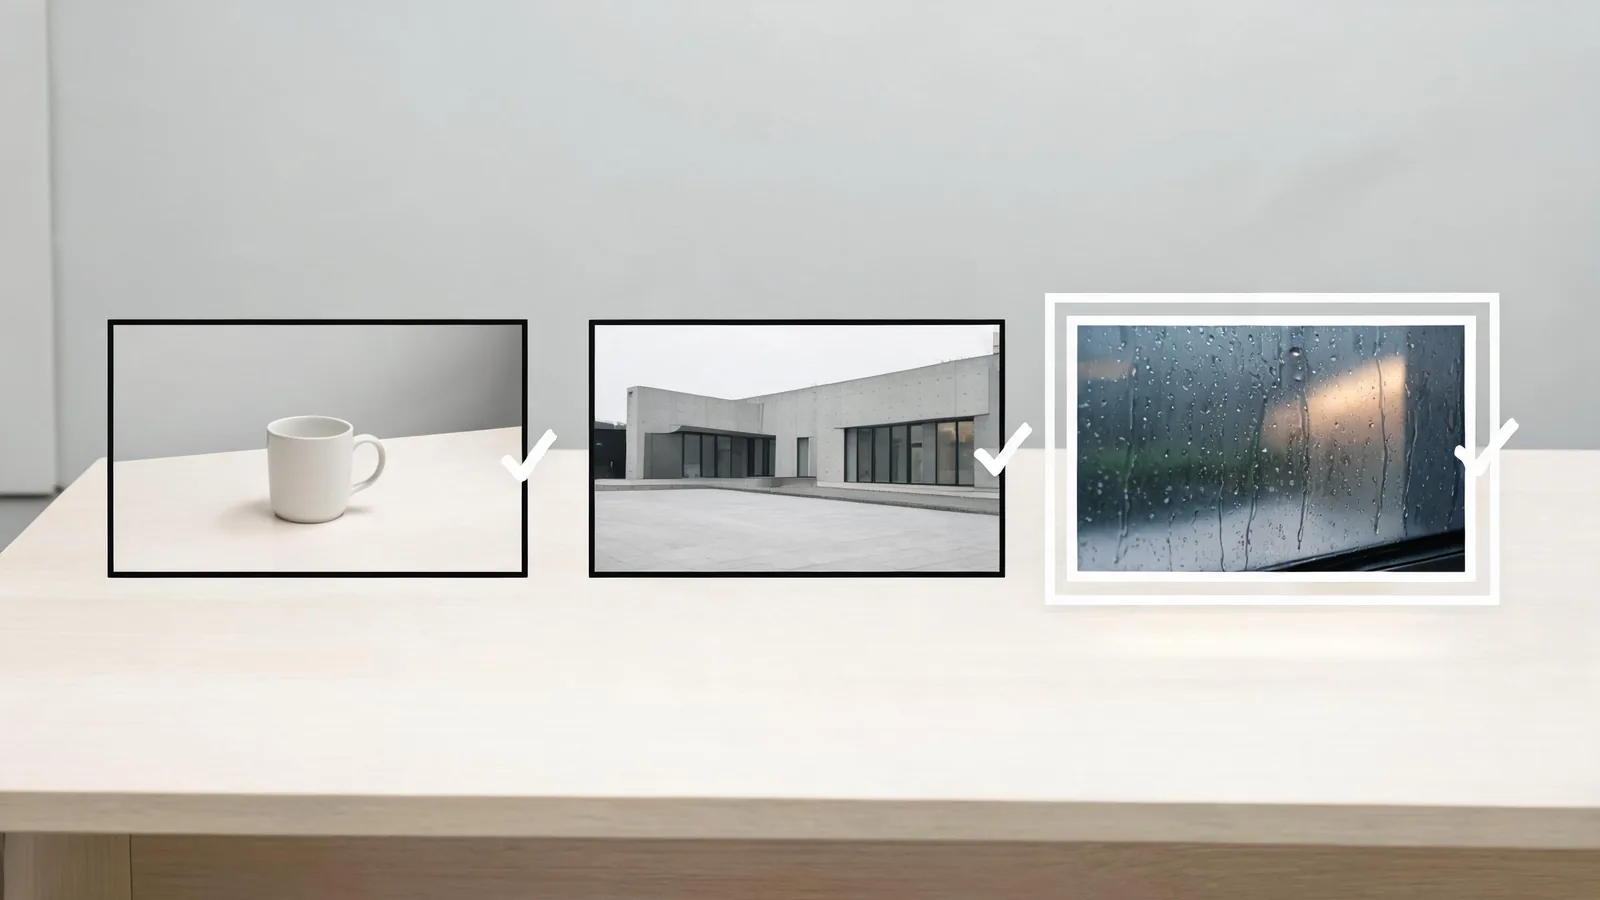
Use one simple test at a time so a source, motion, or camera issue is easier to identify.
5. Make the ending part of the request
A prompt that describes only an opening often produces an ending that is difficult to cut. Add a plain final instruction: hold on a centered object, end with the person still, or stop with the camera stable. That gives you a review point and a clean place for an editor to cut or add independently verified copy.
The ending also protects against a common bad habit: accepting a thumbnail without watching the whole clip. Review the beginning, the hardest moment of motion, and the final frame at normal size. A result can look compelling at first glance while changing the object’s shape, adding an invented sign, or ending during a jump.
A controlled revision loop
Keep a tiny record after each render. You do not need to measure a model or create a leaderboard. Record enough to learn from the next version.
- Save the source or write “text only.”
- Keep the full prompt and the date.
- State the one variable you changed.
- Note the result in plain language: “camera stable; cup handle changed near the end.”
- Choose one next change, such as “lock camera” or “use a clearer source.”
The generation-failed guide is useful when the question is a completed error or recurring visual defect. This article serves an earlier intent: how to write a short Seedance 2.0 prompt that can be tested before you are troubleshooting a failure.
Keep factual claims outside the generated shot
Generated video is a visual draft, not proof that an event occurred or that a product performs as shown. Do not use it to imply a real endorsement, event, location, medical outcome, or exact product attribute. Keep critical text, legal copy, and verified performance statements in conventional production and independently checked copy.
The U.S. Copyright Office’s AI initiative is a useful source for current policy materials; it is not legal advice or permission to use a particular image, voice, person, or brand. For commercial work, confirm the current platform terms and the rights in every input before publishing.
Frequently asked questions
What is the best structure for a Seedance 2.0 prompt?
Start with a specific subject and setting, then state one visible action, one camera behavior, the few details that must remain stable, and the final composition. Remove instructions that compete with those decisions.
Should an image-to-video prompt repeat everything in the source image?
No. Use the image to establish visible appearance and composition, then explain the motion, camera behavior, and the few details that must remain stable. Repeating every visible detail can hide the instruction that actually matters.
What should I change after a weak Seedance 2.0 result?
Change one observable variable on the next test: the source image, subject action, camera behavior, protected detail, or ending frame. Changing everything at once makes the next result hard to interpret.
Start with the smallest useful shot
Write the five decisions for one quiet clip, render it with permitted inputs, and inspect the full result. Once the subject, action, camera, and ending hold together, add only one new challenge. For a larger sequence, turn the successful tests into a Seedance cinematic shot list before writing a more ambitious prompt.