
Grok AI Photo to Video: Check the Free First Test
Use the live Grok AI photo-to-video first test carefully: confirm the free 480p, six-second setting, protect your source image, and review one modest motion.
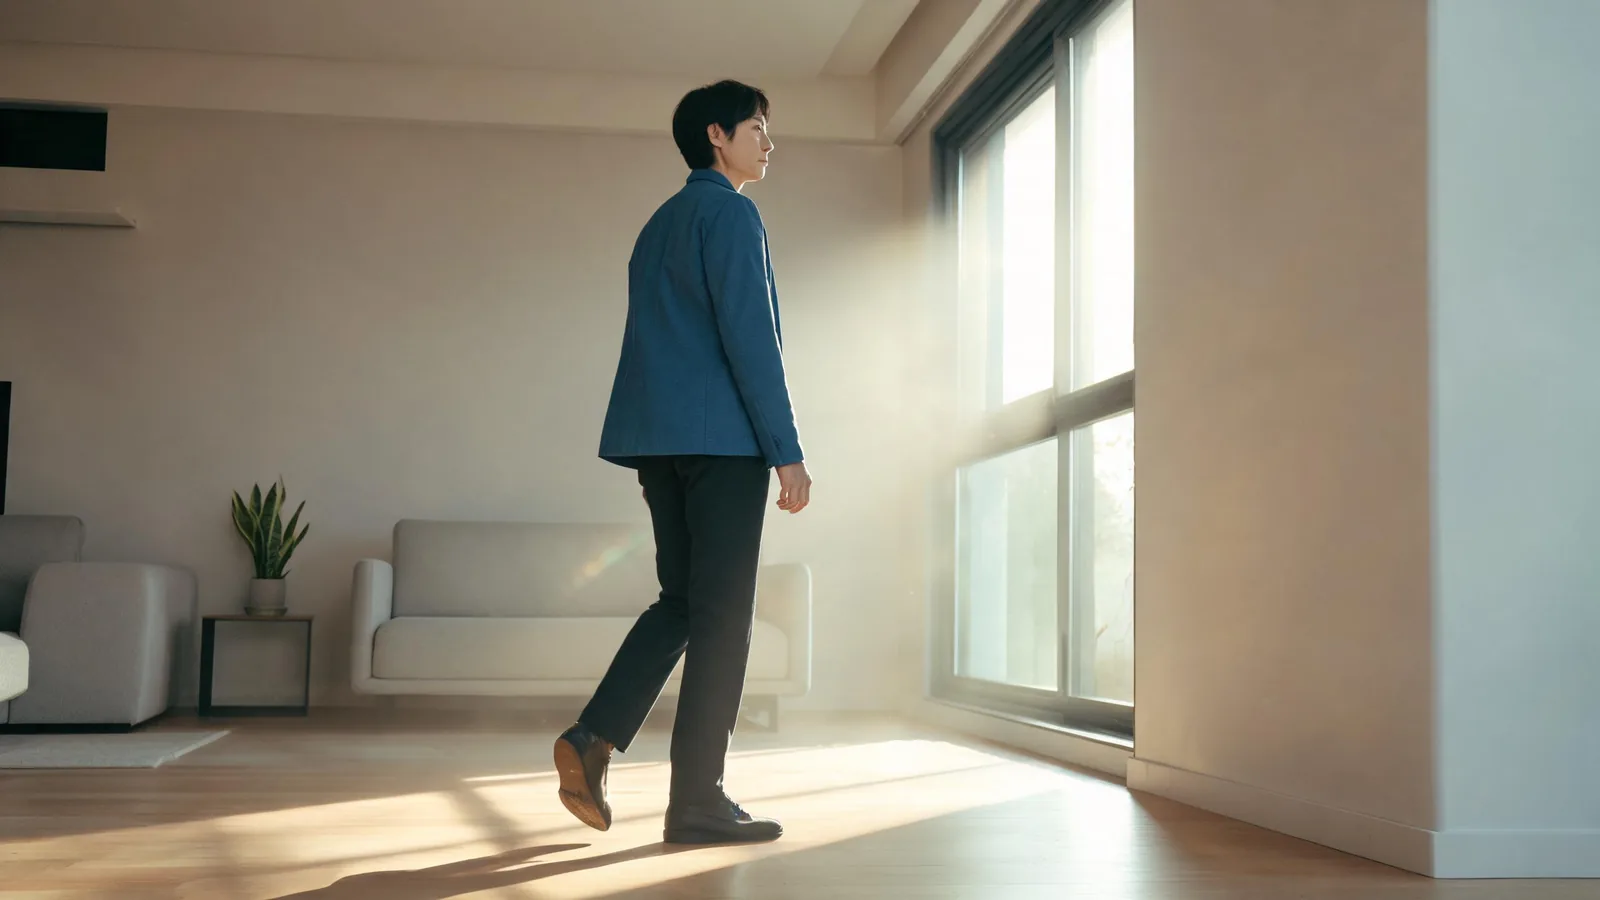
To try Grok AI photo to video here, open the live Seedance generator, select Grok Imagine Video and image-to-video, then proceed only if the interface still shows “Free once · 480p · 6s.” Upload one permitted photo, ask for one modest movement, and review the entire six-second result before deciding whether to spend credits on another setting.
Last checked September 8, 2026 · about 7 min read
This is a narrow first-test guide, not a promise that every account, mode, resolution, or retry is free. The root generator is the source of truth for the configuration it will accept at the moment you use it. As checked today, its Grok option exposes image-to-video and text-to-video, while the one-time free treatment is tied to the visible 480p, six-second configuration. If that wording is absent or the button shows a credit cost, stop and decide from the current interface rather than relying on this article.
The wider technical capability is real: xAI’s video-generation documentation lists image-to-video among its video workflows. That does not make every provider control, price, or allowance identical. This page covers the hosted first test only.
Confirm the eligible test before you upload
Use this as a quick on-screen check, not as a hidden-settings workaround.
| Check in the live generator | What to do | Why it matters |
|---|---|---|
| Model says Grok Imagine Video | Select it deliberately | A model name is part of the test record |
| Mode says Image to Video | Choose it before uploading | A photo-to-video result should begin from your approved source |
| The option says Free once · 480p · 6s | Continue only while that exact free label is visible | The free first test is configuration-specific |
| A different cost or restriction appears | Pause and read the current UI | Do not assume a higher setting or retry is included |
Choose a photo that makes the result easy to judge
For the first run, use a source that keeps the review honest:
- Use a photo you are entitled to use. Obtain consent for a recognizable person and do not make a generated clip look like evidence of an event that did not happen.
- Keep the main subject clear. One adult subject or one simple object against a readable background gives you something specific to inspect.
- Avoid fragile requirements. Exact lettering, product labels, official marks, hands holding complex objects, and dense crowds can drift. If they are essential, a first test is not proof that they will remain accurate.
- Keep the starting frame calm. A sharp, well-lit composition with a settled pose makes an intended change easier to separate from random movement.
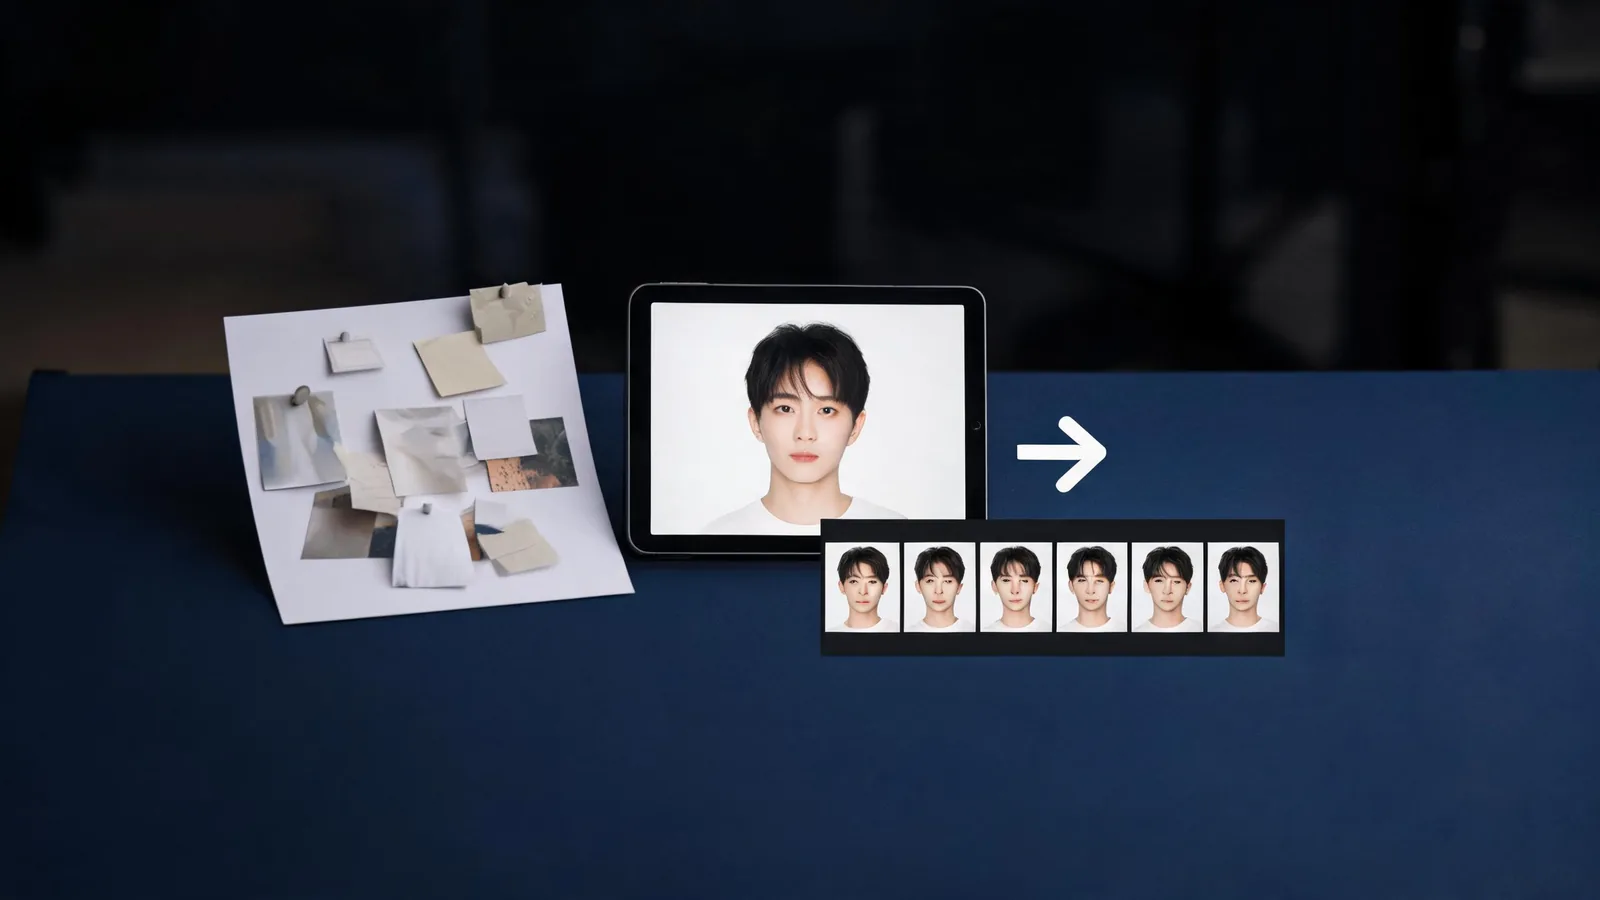
The first test should make one visual decision visible, not ask the model to preserve every detail in a busy scene.
Before submitting, save the original somewhere outside the generated-output folder. A rendered variation is not a replacement for the source file or its permission record. The image-upload privacy checklist is a sensible stop point when the photo includes a person, a client asset, or private context.
Write one motion, not a miniature film
The most useful first prompt names the movement and the details that must not change. It does not try to direct a new location, wardrobe, story beat, camera move, and ending all at once.
Try this structure:
Use the uploaded image as the opening frame. The adult subject takes one slow step toward the window. Keep facial identity, hairstyle, jacket shape, body proportions, window geometry, and light direction stable. Use a locked camera. End on a steady medium shot. No extra person, abrupt camera jump, wardrobe change, or distorted background.
Adapt the nouns to your own permitted image. For an object, replace identity and hairstyle with its silhouette, key color, cap or closure, and surface placement. For a landscape, protect the horizon and one visible landmark. Keep the camera locked for the first pass; a complicated move makes it difficult to tell whether a failure came from the source, prompt, or motion request.
For more prompt anatomy after the baseline works, use the Seedance text-to-video prompt guide. Do not copy an example blindly: the truthfulness and rights of the input still belong to you.
Review all six seconds before calling it a pass
Open the completed clip and inspect the start, middle, and final frame. A satisfying thumbnail can hide the error that matters most to the next use.
| Review point | Pass looks like | Stop or rerender when |
|---|---|---|
| Starting image | The opening reads like the permitted source | The subject or key object has already changed |
| Intended motion | One restrained action is visible | New actions, a jump cut, or inexplicable motion appears |
| Stable detail | Protected features remain broadly recognizable | Face, object geometry, clothing, background, or lighting drifts in a material way |
| Ending | The last frame is settled enough for a cut | The clip stops mid-action or adds an unusable visual surprise |
| Context | Nothing implies a claim, endorsement, or real event | The output could mislead a viewer about what happened |
Call the output a concept pass only when it answers the one motion question and stays within the intended use. It is not evidence that a person consented, that a product performs as shown, or that a model will reproduce the same result later.
Decide what happens after the first test
There are three honest next steps:
- Keep it as an internal concept when it communicates a visual direction but contains no claim that must be proven.
- Run one controlled follow-up when a single issue is isolated. Keep the source and most of the prompt, name the failure, and change one variable.
- Switch methods when the job needs exact text, a verified product detail, an approved endorsement, a real-world record, or a person’s precise likeness. Conventional footage, approved stills, or motion graphics may be the better tool.
Record the displayed model, mode, 480p setting, six-second duration, and date. If the current interface offers a paid setting, check pricing before a batch and measure cost against accepted clips—not against the most attractive preview.
Limits and disclosure
Seedance2-5.video is an independent creative studio, not ByteDance’s official Seedance site and not xAI. Generator controls, free eligibility, credits, and output quality can change. This guide does not guarantee account eligibility, results, commercial clearance, platform compliance, or legal suitability. It is not legal advice.
For a broader workflow comparison, read Seedance 2.5 vs Grok Imagine. For a careful visual review before any client use, use the commercial-use client video checklist.
Frequently asked questions
Is the Grok AI photo-to-video first test free on Seedance2-5.video?
As checked on September 8, 2026, the live generator labels the eligible Grok Imagine Video configuration “Free once · 480p · 6s.” Eligibility and available controls can change, so confirm that exact visible label before submitting. Other settings can require credits.
What photo should I use for a first Grok image-to-video test?
Use one image you have permission to use, with one clear adult subject or object, readable separation from the background, and no exact text or critical logo detail that must survive unchanged. Start with a still composition and one modest action.
What should I write in a first Grok photo-to-video prompt?
Describe one visible motion, one camera behavior, and the details that should stay stable. Keep the first request small enough that you can diagnose one failure.
Does a free first test mean every Grok video is free?
No. The free label applies only when the live generator shows the eligible configuration. Treat a different resolution, duration, mode, or later attempt as a separate settings and credit decision.