
Seedance Text-to-Image: Make a First Image with Seedream 5.0 Lite
Use Seedance text-to-image with Seedream 5.0 Lite to make a controlled first image, choose the right mode, and prepare a clean handoff for editing or video.
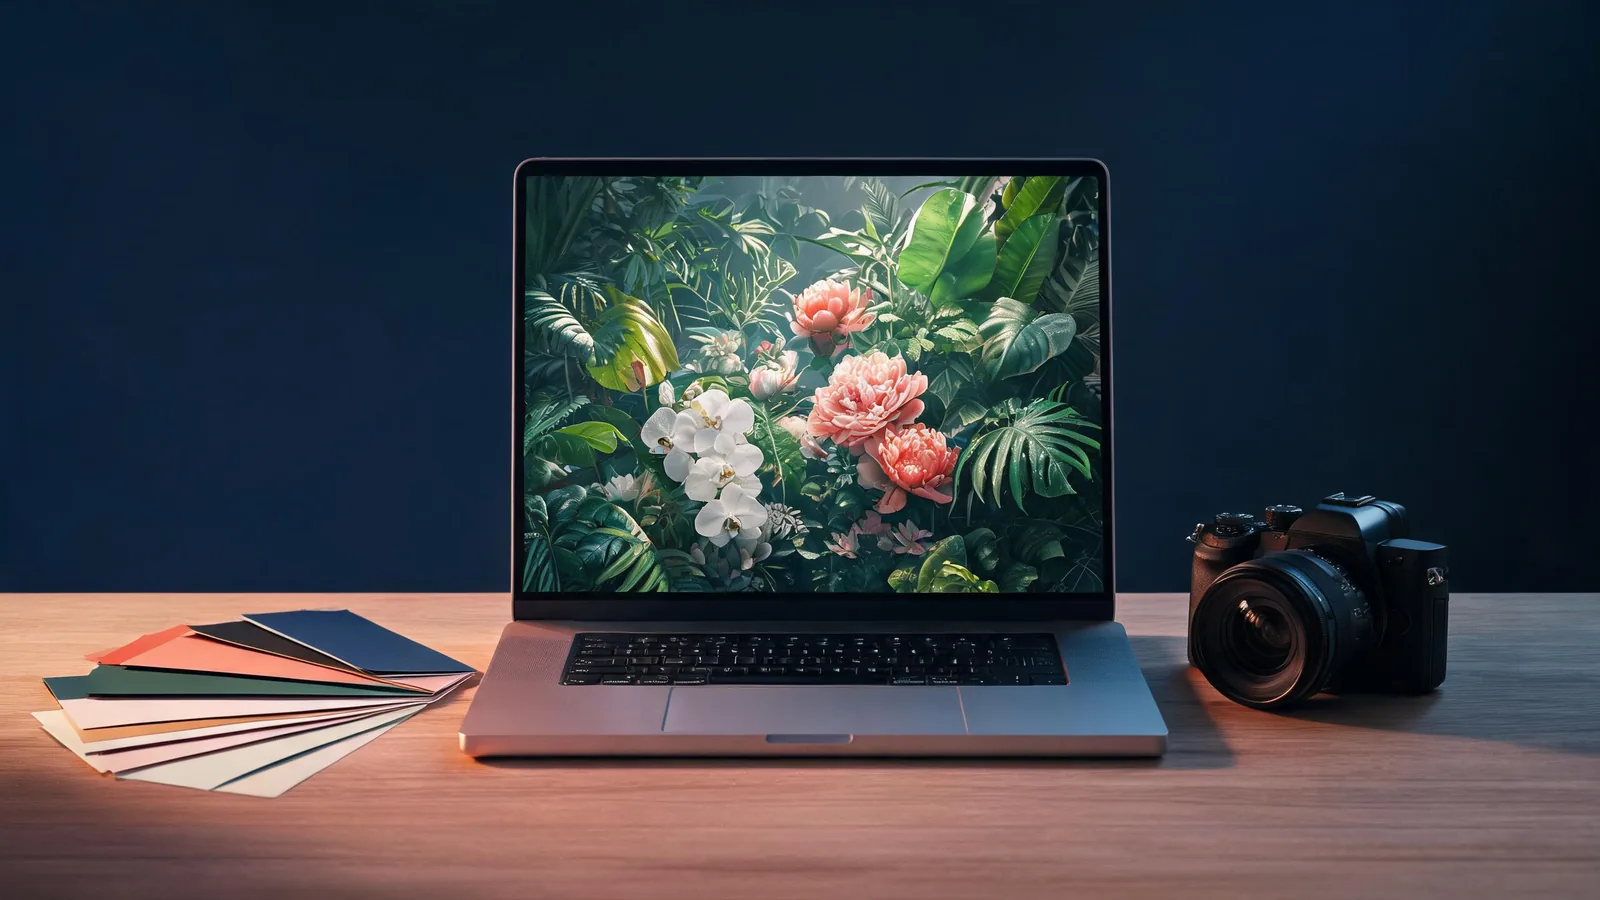
Seedance text-to-image lets you turn a written art direction into a still image with Seedream 5.0 Lite. Start with one clear scene, composition, and constraint; then use image-to-image only when you already have a source you are allowed to edit and a specific detail to preserve. The point of the first render is not to make a finished campaign asset. It is to create a reviewable visual direction.
Updated September 7, 2026 · about 7 min read
The Seedance studio currently registers Seedream 5.0 Lite for both text-to-image and image-to-image. The Lite model offers the image modes, multiple common aspect ratios, and quality choices in the same generator where you can later make a video. Controls and availability can change, so use the live selector as the final source for what your account can run.
The short BytePlus introduction above is useful context for the model. This guide is narrower: how to make a first Seedance image that a creative lead, editor, or client can actually assess.
Choose the right starting mode
The two modes answer different questions. Do not upload a source image merely because you have one; doing so can make an open visual brief harder to judge.
| If your real question is… | Start with | What you are testing |
|---|---|---|
| “What should this campaign image look like?” | Text-to-image | Subject, setting, framing, palette, and mood |
| “Can this approved composition take one new direction?” | Image-to-image | Whether the selected change can happen without losing protected details |
| “Can this still become a motion clip?” | Make and approve the still first | A usable first frame, not the final video |
Text-to-image is the cleanest first step when the idea still has room to move. Image-to-image is more useful when you need to retain an existing composition, general color relationship, or non-sensitive object silhouette. Neither mode guarantees exact reproduction. Avoid using either one for a logo, legal line, price, medical claim, or other detail that must be letter-perfect.
Build a brief before you open the generator
A good first image prompt is a small art direction, not a pile of adjectives. Write the decision you need the image to support.
Use six plain parts:
- Subject: what is in the frame?
- Setting: where is it, or what background treatment does it have?
- Composition: wide, close, centered, overhead, or another deliberate framing.
- Light and material: soft window light on ceramic, sharp studio light on metal, foggy morning over fabric.
- Mood: calm, playful, archival, restrained, energetic.
- One constraint: what should not become the focus or change direction?
For example:
Editorial still life of an unbranded amber glass bottle on a pale stone table, three-quarter composition, soft side light, quiet premium mood, space on the left for later editorial copy, keep the label area blank and do not add people or logos.
That does not force a fictional product claim. It gives the render a subject, a camera decision, lighting, mood, and a constraint that a reviewer can evaluate. Add exact copy, price, logo placement, and regulated claims later in an approved design or editing workflow.
Make the first render easy to judge
Keep the first request intentionally modest. One subject, one setting, and one visual purpose make it possible to say what worked and what to change next. A request for a crowded room, celebrity-like subject, new brand package, dramatic action, tiny typography, and five competing styles gives you no clear result to compare.
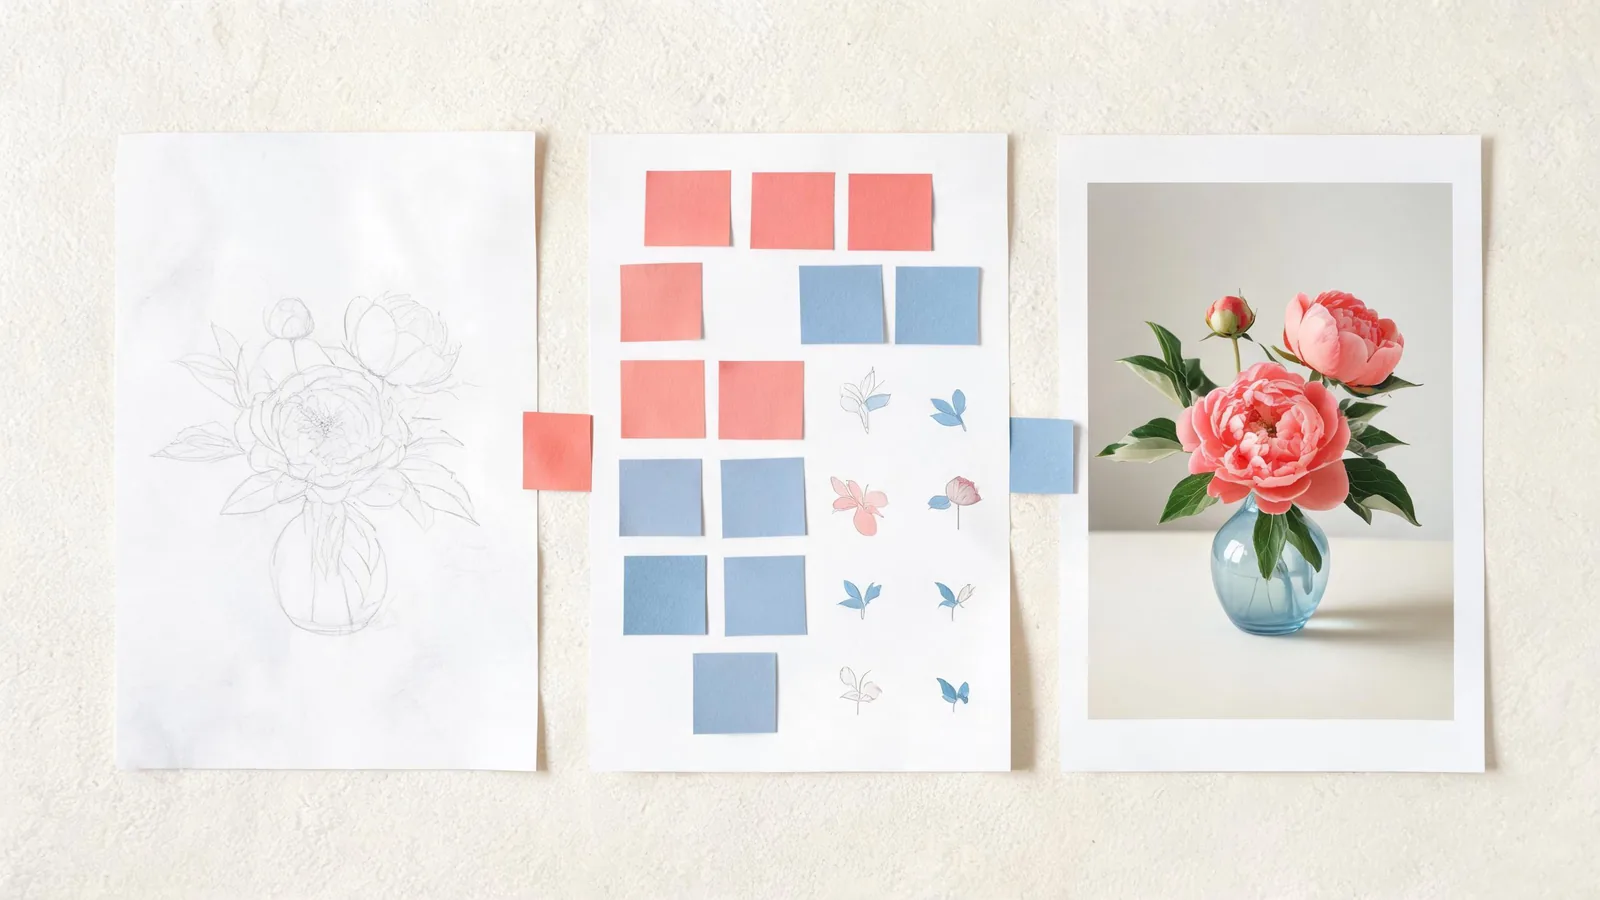
A first render should move from a simple direction to a specific review question, rather than trying to solve every campaign decision at once.
After the render, review it at normal viewing size and again at the size where it will actually appear. Ask:
- Is the main subject instantly recognizable?
- Does the composition leave the room the final placement needs?
- Does the lighting support the intended mood without hiding important form?
- Did the image introduce an unintended person, logo-like mark, factual claim, or distracting object?
- Is there one change worth testing next, rather than several guesses at once?
If the image is only a concept, label it as a concept in the working file. A polished synthetic image can still be the wrong source for a product statement, an endorsement, or a real event.
Use image-to-image as a controlled revision
When you have a source image, begin with an input you own or are authorized to use. State what should stay stable before saying what should change.
Try this structure:
Preserve the existing composition, the plain amber bottle silhouette, and the soft side lighting. Change only the background from pale stone to a dark blue studio setting. Keep the label area blank; do not add readable text, logos, or people.
This does not make the output a faithful production proof. It makes the next review question clear. If the composition, product form, or protected space drifts, simplify the request or return to the approved source instead of accumulating fixes.
The Seedream 5.0 Lite registration supports image-to-image as well as text-to-image; it does not turn the model into a brand-asset system. Be especially conservative with confidential inputs, faces, client materials, copyrighted characters, and product packaging. For an image that may become video input, also read the image upload privacy checklist.
Prepare a still for a later video test
A stable still can make an image-to-video experiment easier to direct. It is not a promise that every detail will survive motion. Before passing a generated still into a video workflow, write a tiny handoff:
| Handoff item | Write it down |
|---|---|
| Purpose | One motion or transition the clip should test |
| Protected detail | The feature that should remain recognizable, such as a generic object silhouette or palette |
| Allowed variation | A detail that may change without affecting the decision |
| Review rule | What makes the result usable, and who decides |
Then ask for one motion beat. A restrained camera drift or one environmental movement is easier to inspect than a whole imagined commercial. The Seedance image-to-video guide explains that next step; this article is about getting the still direction right first.
Limits worth keeping visible
Seedance2-5.video is an independent creative studio, not ByteDance’s official Seedance site. This guide records the image modes available in the studio on September 7, 2026; it does not promise a result, a particular output resolution, or a feature in a third-party product.
Generated imagery should not be treated as proof of a product’s performance, a real-world event, a person’s endorsement, or permission to use an input. For paid or client-facing work, keep factual copy and exact branded details in a normal approval process. When you move the approved still into a product video test, use the product video review checklist before handing the result to an editor or client.
Frequently asked questions
Can I use Seedance for text-to-image and image-to-image?
Yes. The current Seedance studio registers Seedream 5.0 Lite for both text-to-image and image-to-image. Text-to-image starts from a written brief; image-to-image starts from an uploaded source plus a controlled change request.
When should I choose text-to-image instead of image-to-image?
Choose text-to-image when the subject, composition, and visual direction are open. Choose image-to-image when an approved source already carries details you want to retain, such as composition, palette, or a non-sensitive product silhouette.
How should I write a first Seedance image prompt?
State the subject, setting, composition, lighting, material or mood, and one constraint. Keep the first render narrow enough to judge; add complexity only after you know what must remain stable.
Can I use a generated image as a video reference?
It can be a useful visual draft for a later video test, but review rights, recognizable people, product details, and exact claims before using or publishing it. A generated image is not evidence that a product or event is real.