
Seedance Image Crop Tool: Frame a Source Before Image-to-Video
Use Seedance’s in-generator crop step to keep the right subject and motion space in an image-to-video source before upload.
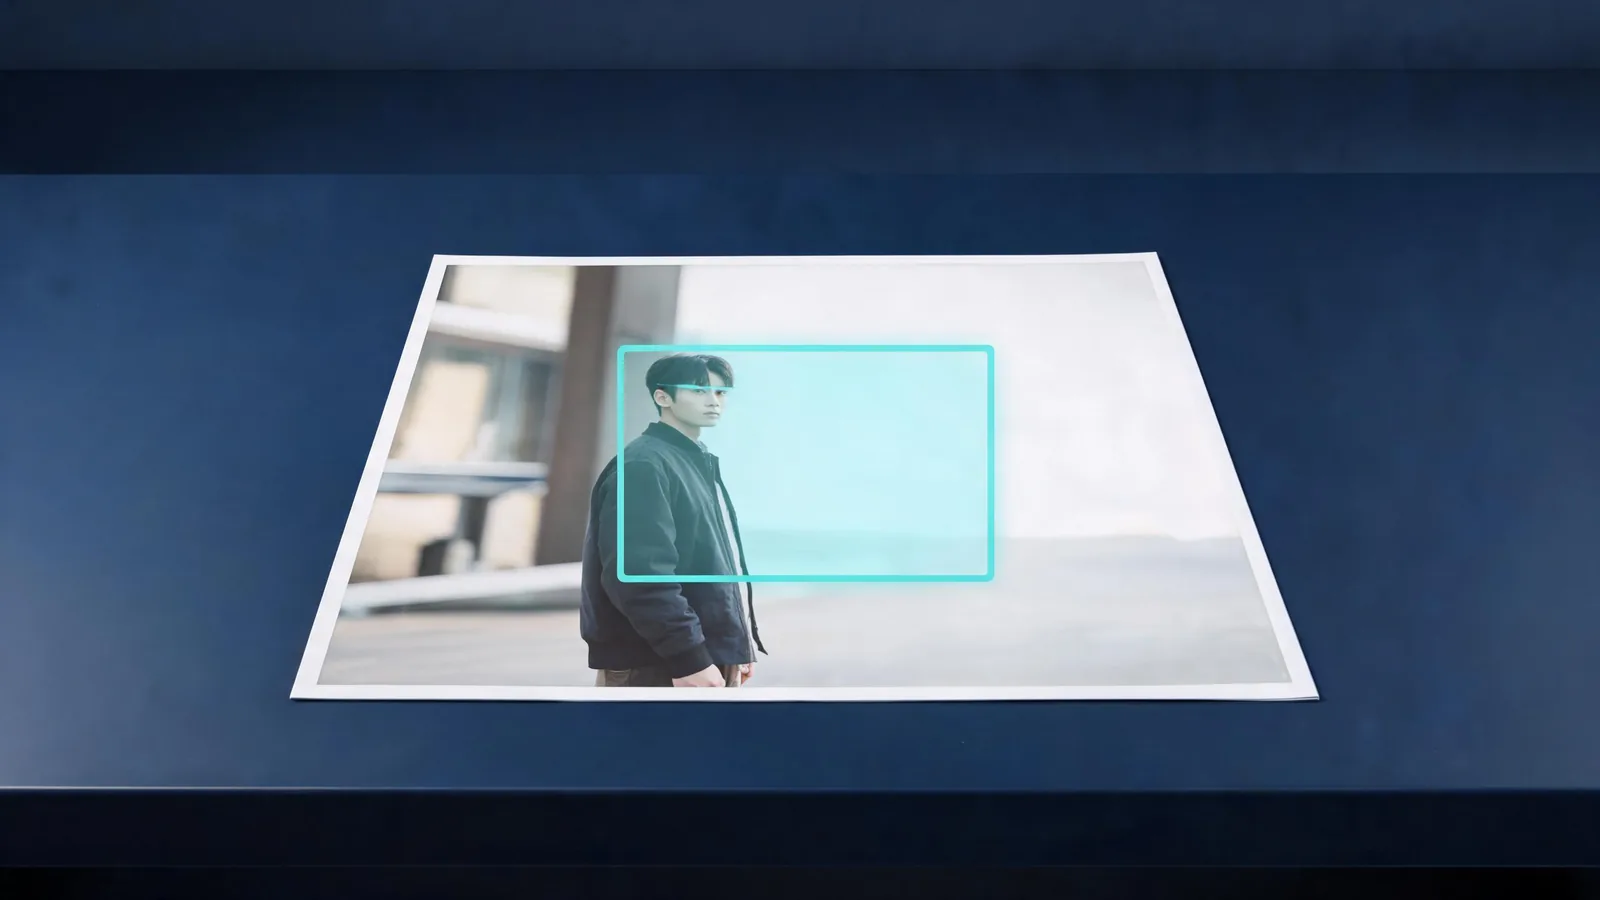
The Seedance image crop tool lets you adjust an out-of-range source image before it is uploaded for image-to-video. Keep the subject inside the safe frame, leave room in the direction of planned movement, and confirm the crop before you generate. It is a framing step, not a promise that the model will preserve every detail.
Last updated: September 16, 2026 · about 8 min read
In the live Seedance studio, a source image that sits outside the supported 1:2.5–2.5:1 range opens an “Adjust this image before upload” dialog. The studio selects a safe crop, shows a focus control, and gives you the choice to cancel or use the crop. That small moment matters because the outer edge of a still often contains the room a video prompt needs for a subject, a camera move, or a clean ending.
This guide is about that in-product step. It is not a general prompt guide and it does not claim that every source image needs cropping. If your image is already in range, use the existing framing and focus your effort on the actual shot brief.
Start with the shot, not the crop handle
Before moving the focus, answer three ordinary production questions:
- What must remain recognizable in the opening frame?
- Where should the eye travel as the action begins?
- Which edge can disappear without changing the intended shot?
For a portrait, the answer is often the face, shoulders, and the direction the person will turn or look. For a product, it may be the full silhouette, the contact surface, and a clear area for a gentle push-in. For a location, protect the horizon or strong architectural lines that make the scene readable.
Do not crop simply to make the image feel busier. An image-to-video source works as a starting condition. Removing a distracting margin is useful; cutting away the only evidence of where a subject stands or where it can move is not.
What the in-generator crop step does
The live crop dialog is a guardrail for images that exceed the supported width-to-height range. It presents a preview, applies a safe crop shape, and lets you move the focus before the cropped file continues through the normal upload path. You can also close the dialog rather than submit a crop you do not want.
That means the control is best understood as a pre-upload composition check:
| Check | What to look for | Why it matters |
|---|---|---|
| Subject | Face, object, or landmark stays fully readable | A cropped edge can turn a clear starting image into an ambiguous one. |
| Motion room | Empty space exists where the action or camera direction needs it | A request to move into a wall or out of frame creates a harder starting condition. |
| Stable boundaries | Important table edges, horizons, or clothing are not cut awkwardly | These are the lines viewers notice when motion exposes drift. |
| Dispensable area | Background clutter or unused margin is outside the crop | You remove information that does not help the shot without losing the story. |
The crop tool does not label the important part of your image for you. It only makes the adjustment possible before upload. You remain responsible for choosing a permitted source and deciding whether the resulting frame supports the video you intend to make.
A practical crop workflow
Use this short workflow when the dialog appears.
1. Inspect the default safe crop
Look first at what the automatic crop excludes. If it removes only empty sky, wall, or an unneeded table edge, the suggested frame may already work. If it cuts a face, the product base, or the direction of motion, pause before confirming.
2. Move focus toward the story-critical detail
Use the focus control to keep the meaningful part of the image inside the frame. A crop is usually stronger when the viewer can immediately tell what the shot is about. Do not center a subject by reflex: a person looking right or a product intended to travel left may need clear space on that side.
3. Test the crop against one modest motion request
Write a first prompt that could plausibly begin from the cropped still. For example:
Use the uploaded product image as the opening frame. A soft light moves across the surface while the camera makes one slow push-in. Keep the silhouette, material, and contact shadow stable. End on a centered hold.
This is intentionally restrained. It lets you tell whether the crop protected the product and whether the planned movement fits the available space. Add complexity only after reviewing a complete result.
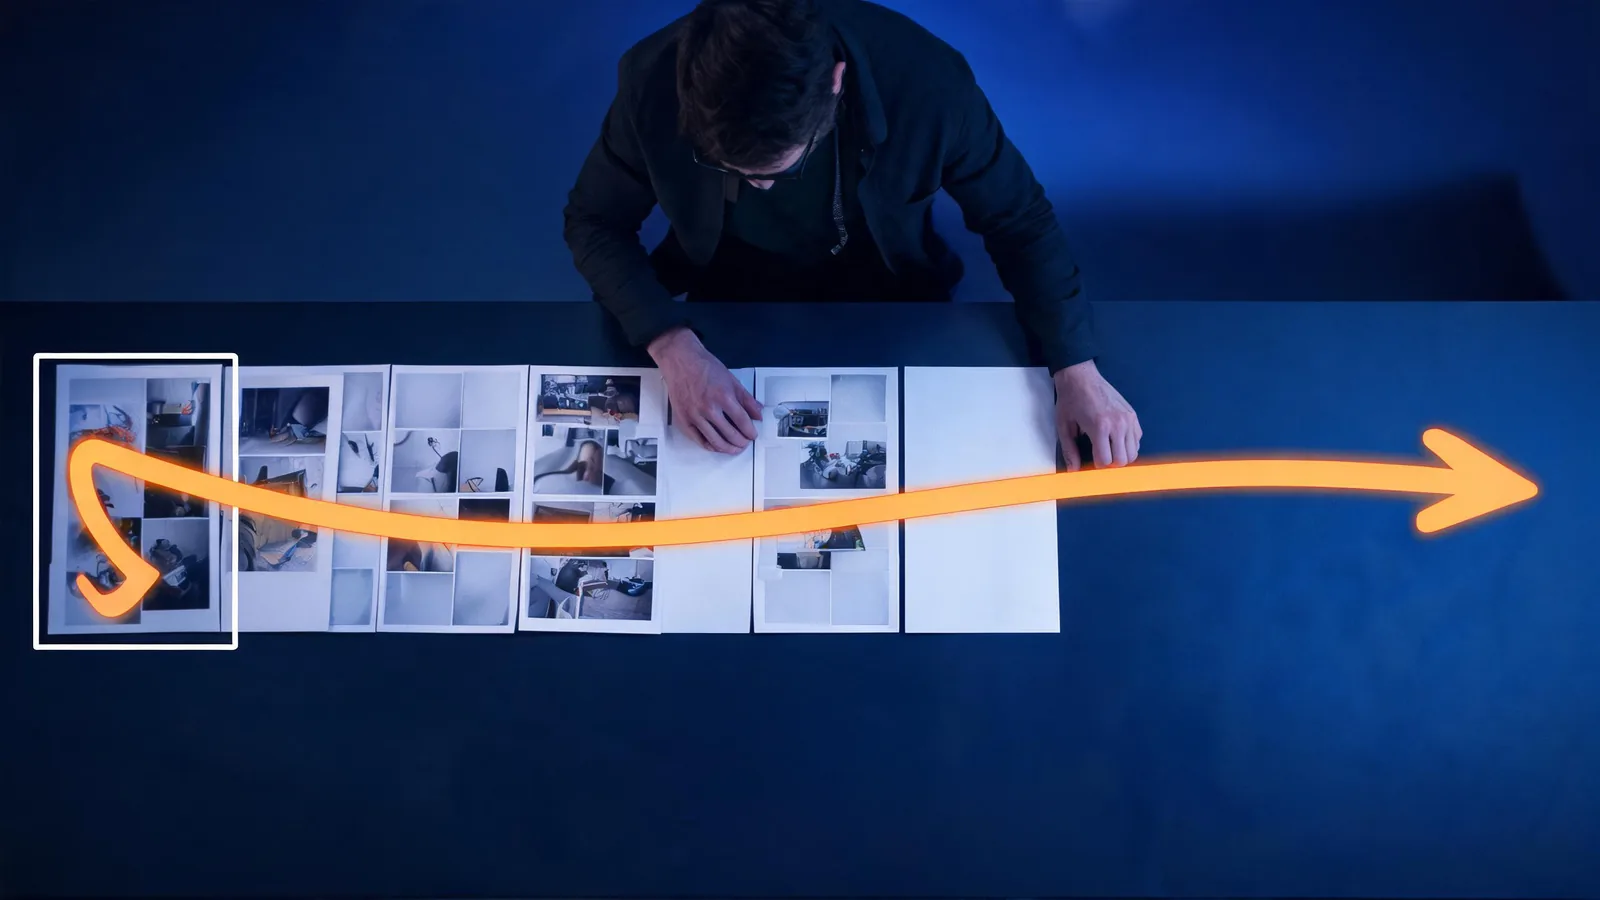
Plan the subject and one direction of movement before accepting a crop.
4. Review the full clip, not just its opening
The opening frame can look perfect while the first movement reveals a cut-off shoulder, a missing base, or too little headroom. Review at normal speed, then inspect the point where the action becomes hardest. If the crop is the likely cause, return to the original image and make a different framing decision rather than stacking prompt instructions that fight the source.
The image-to-video guide covers the broader choice between a supplied image and a text-led scene. For a source that looks soft, cramped, or over-compressed before the crop dialog even appears, use the source-image checklist first.
Three framing patterns that usually hold up better
Portrait with a small head turn
Keep the face, hairline, shoulders, and enough room on the side of the turn. Avoid a crop that places a chin or shoulder exactly against the edge; even a subtle animation can make the framing feel accidental. Use a permitted image of a recognizable person and do not present the generated result as evidence of that person saying or doing something real.
Product on a surface
Keep the full product silhouette and the contact point with the table. Leave a small amount of clean background around it. Tiny package text, prices, labels, and legal copy are poor details to depend on: generated motion may alter them. Add verified text later in conventional editing if it must be exact.
Landscape or architectural shot
Protect a horizon, main vertical, or leading line. Remove only the part of the image that is truly surplus. A dramatic wide crop may feel attractive in a still but leave no room for a pan or make an important line break at the frame edge.
Limits worth keeping in view
Cropping changes composition; it does not repair a low-resolution image, clear a right to use it, or prove that the result will be stable. It also cannot provide an unseen side of an object or a person. If your motion request depends on hidden geometry, reduce the move or choose a more suitable source.
For commercial or public work, document the source and permission separately. The U.S. Copyright Office’s AI initiative is a useful public-policy resource, but it is not clearance for a particular image or video. Check the current terms, your plan, and the rights to every input before delivery.
Frequently asked questions
When does the Seedance image crop tool appear?
It appears when an uploaded image falls outside the studio’s supported aspect-ratio range. The dialog proposes a safe crop and lets you move the focus before continuing with upload.
Does cropping make an image-to-video result more accurate?
Cropping cannot guarantee an output, but it can remove unhelpful edges and preserve the subject or empty space that the planned motion needs. Review the generated clip before using it.
What should I protect when I crop a source image?
Keep the main subject, the direction of planned motion, important boundaries, and enough clean room for the requested framing. Do not rely on generated video to preserve tiny text or logos exactly.
Make the source easy to animate
When the crop dialog appears, treat it as the last composition decision before upload: preserve what the shot needs, discard only what it does not, and make the first motion request easy to inspect. Then open the Seedance image-to-video studio, confirm the crop, and judge the complete render before calling it usable.